Torso/Right arm
First off, Id like to note that concept wise the PIRAKA seem quite similar to the TOA HORDIKA. I say this because the TOA HORDIKAs torso was quite simple in construction, a torso attached to the hip. The torso is basically a flat piece with two sockets for the arms to connect to, and without the spines, theyd be flatter than a Metru Nui MATORAN. Also similar to the TOA HORDIKA is the right arm differs drastically from the left. It is optimized so you can flip most PIRAKA tools 180 degrees so that the other end of the tool is facing outward, and since some tools actually loop through the arm when you flip it, the arm has 3 spaces long of a hole for stuff to pass through. Having such a large gap LEGO had to make the arm a bit bulky to reinforce it and make it sturdy. This bulky design plays well into the PIRAKAs design, I very much wish you got two of the same arm with these guys, in part because they seem to be a great MoC part, and also so you didnt have to buy two PIRAKA to get a pair for legs and such for your MoCs. Also the left arm just doesnt have good articulation, rather slapped on it seems to me.
Left arm
Nothing really special about the left arm, just an everyday TOA METRU lower arm. I did notice with THOK, the whit PIRAKA, that his lower arm as well as all his whit parts where a sort of off white compared to other white parts. When I set his parts with a tray of other white parts I noticed they stuck out, appearing to be slightly grayer. So LEGO was not just tossing in older mass stocked TOA METRU arms. I dont know if all PIRAKA are slightly different in color, but for the most part the metru colored parts are unchanged. A big problem, as noted above, is poor articulation for the PIRAKAs left elbow, making it VERY difficult to get a good pose or effectively aim the launcher. Imagine if your elbow swung sideways instead of forward or backwards. You would have to keep your arm un-bent to shoot forward.
ZAMOR gun
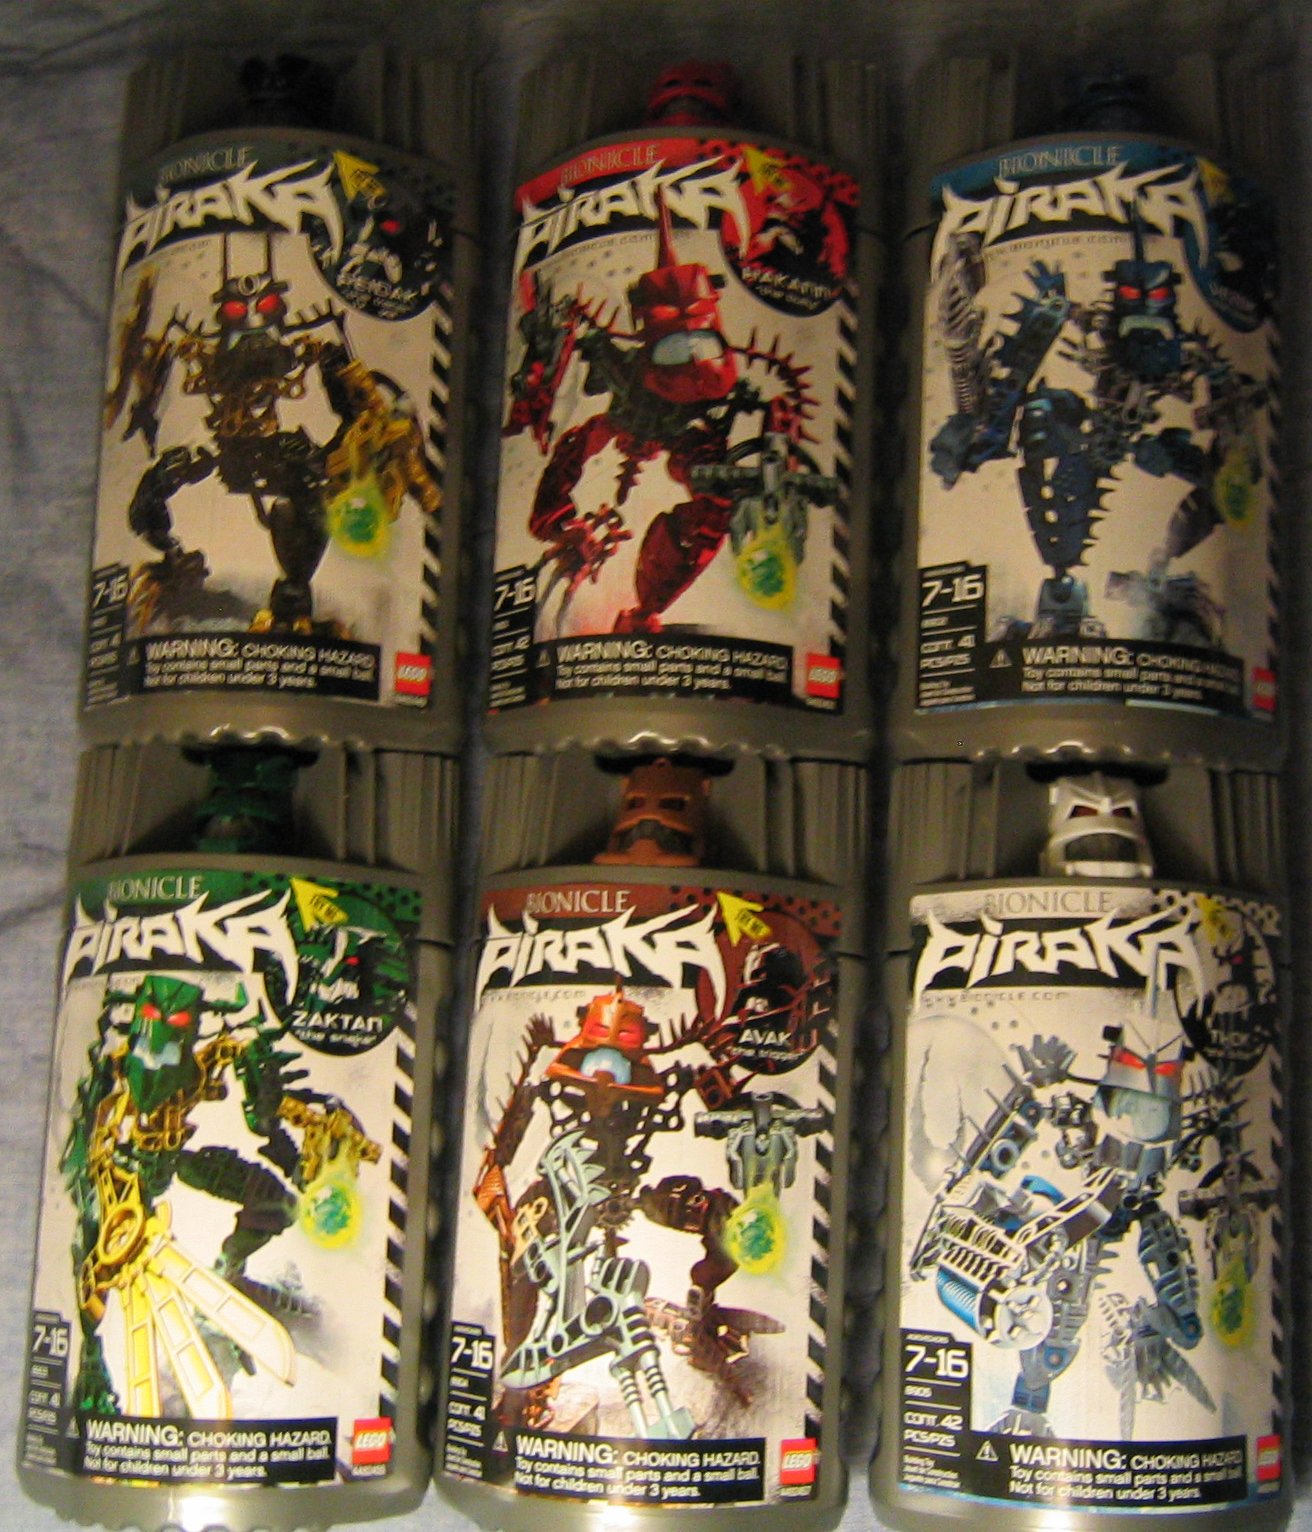
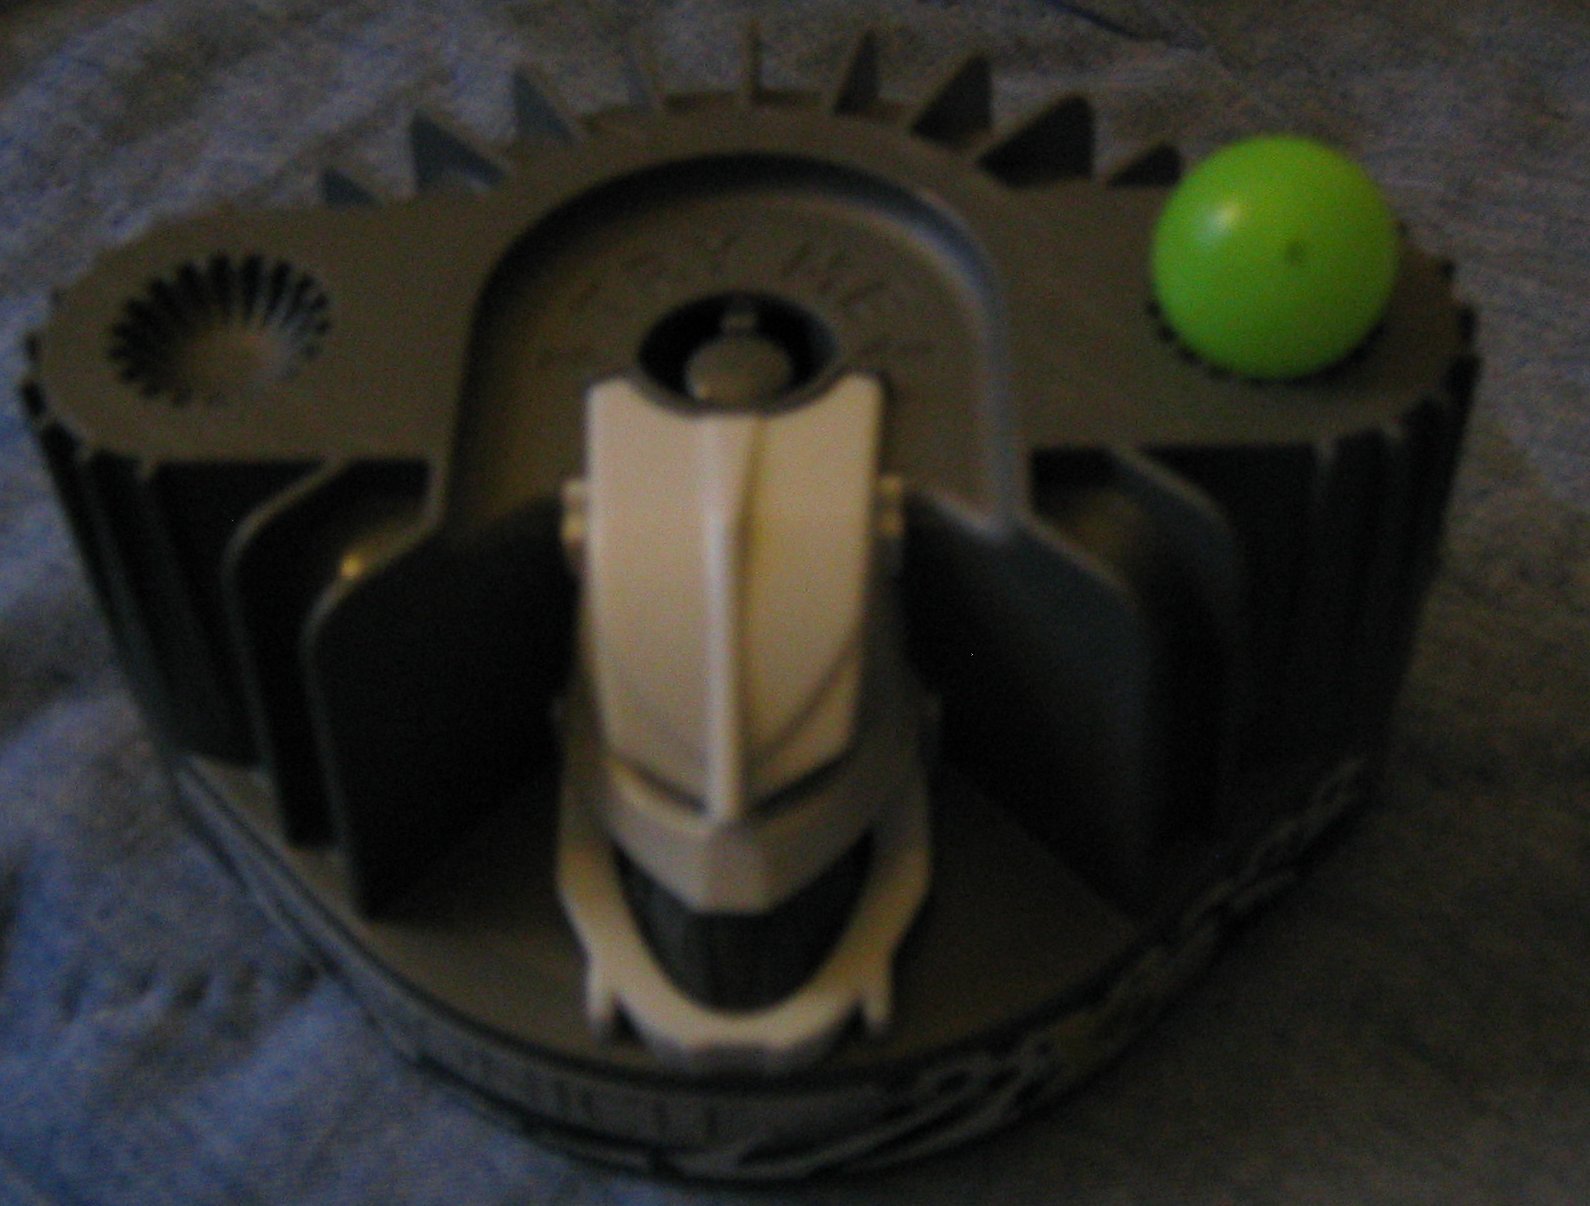
Each PIRAKA comes with a ZAMOR gun that matches the color of their torso and tool, and in some cases their toes too, so you get more than just that shade of silver and you need not worry about expansion packs to get other colors (as the ZAMOR packs do not include a launcher anyway), the downside being only the three colors, silver, gunmetal, and yellowish gold, which dont necessarily match your custom toa. The gun itself is T shaped, with the bottom of the T having three prongs that hold the ZAMOR in place, though its more of an open topped box, so once loaded you can turn it upside down to dump out the ZAMOR. The bottom of the box just holds it in place while the sides are what the ammo pushes against to build energy for launch. This open topped design leaves much potential, as it wouldnt be too hard to make a gravity loading ammo clip for firing lots of ZAMORS, it even has a plus slot that makes a perfect spot to attach such a design. The top of the T has three plus holes, one of which, the middle one, does not apply friction to the plus rods so the rods can push trough and shove the ZAMOR through the energy building clips. The plus holes to the left and right are for a rubber rod with a (1) size axel to hold the pushing plus rod in place, and it also doubles to spring the rod back out and prepare to fire again, which plays well to the rapid fire ammo clip I mentioned, should you make one and be carefree enough to lob them around the house and be able to find them again. The rubber rod isnt as stiff as the ones the 04 models included, and can be applied to certain tasks they previously could not. Anyone worried about breaking the gun will be happy to know it is actually quite sturdy, the prongs especially. They are more sturdy than I thought the looked, and I think LEGO made them to be a little dense than other launchers, as even the flimsy looking parts wouldnt bend very much as I applied some force to them. I havent thoroughly tested the firing power, but they do get some good distance. The ZAMOR spheres themselves are just hallow marbles, they dont feel easily broken and are very light. Each PIRAKA comes with four greenish ZAMORS. Its a downfall that you cant see any sort of symbol on them, except for an occasional of color swirl, other than that the ones in the packaging are all the same. Each one has a small hole on the underside, but it appears that this hole is too small for most LEGO elements, so you will have a rather difficult time making a display rack for these orbs. On the plus side, you at least get two slots on the canisters lid for displaying two ZAMOR spheres, but considering four come in a can and you only have two slots on the lid, well youll likely wind up making a sort of mini bowling ball rack to hold them…Now that I think about it thats a simple solution to your display rack problem
Legs/feet
The legs are quite long, and the knees are satisfyingly flexible, especially when compared to the TOA HRDIKA legs which severely limited articulation. The lower legs seem to be as long as RAHKSHI legs, and the upper legs are of course the extra long double sockets. The armor for the upper legs stands out and is much more bulky than that of which the TOA METRU used. The PIRAKA have two different feet, the clawed toe ones are all hard plastic, with some color mixed in to match the torso and tool of the PIRAKA, the webbed ones are just a solid color. Both types of feet have good compatability to be implemented to other tasks. I like how the webbed toes have two plus slots, one up higher than the other, downside is that none of the PIRAKA use the lower plus peg to give them more difference, so unless you like to modify sets from the original instructions I find this quite annoying LEGO didnt take full advantage of the design for the canister sets to make them more unique. I also understand some people who already have their PIRAKA noticed they already feel worn out in the joints, I will say all of my PIRAKA felt like they were already loose jointed, but I would like to say they seem to be already broken in, where they are usually stiff jointed out of the canister. It could be LEGO refined the parts a little more, maybe not, but Im hoping the joints will not become even more loose than this during normal play.
Head/Spine
The spine and the face are all one piece, and each one is customized with different styles. I dislike how the spine gets a sort of kink in it once youve bolted the tail end to his behind, as it forces the spine into an uneven shape, which results in the spine listing to one side instead of being perfectly aligned with the back. After a while of being in place this kink will kind of settle in place. The spine breaks off at one segment with two more smaller spines which clip to a plug sticking out from the PIRAKAs upper arms. I did notice some unwished interference from this rubber spine causing the poses to more easily get out of shape as the rubber forced the limb a little, however it wasnt all that bad. Experimenting around I was not able to make the shoulder clipped spine pop out by moving the arm around, it seems to fit firmly in place with no trouble. The spiny shoulder design looks pretty good, and the only real downfall is that undesired movement it sometimes gives you, along with how this design contributes to misaligning the main spine in some PIRAKA designs. It isnt as bad in some of them since their custom spines have made some overall better off than others. When you first get the spine out of the canister, you will notice that the head isnt ready to go right off, but that you need to place the back end of the light up eye into a circular slot made especially for it. Once you have the eyes in place, you lower the eyes into the teeth/head on the body. Where you would load a metru eye part from the back, you just place it over the top. The TOA METRU eyes do fit the PIRAKAs teeth/head, but the rubber face/spine will not fit over the teeth/head since the end is not circular like the light up eyes…So you can use TOA METRU eyes in PIRAKA heads and vise versa, but dont expect to fit the PIRAKAs face on over those teeth.Once the eyes are lowered into the top, you must then bend the face downward on a sort of hinge and pull the bottom lip over the teeth until the mouth fits perfectly overtop. You use a 4 long plus rod to hold the face down and the eyes in (again a similarity to the TOA HORDIKA), though I very much hate how the plus rod sticks out a little on both sides. Last of all, there is a little rubber flap that cover the top of PIRAKAs pressure activated eyes designed to make it easier to hold the button in. Almost forgot to mention (or did I? this review is coming out munch longer than I thought it would), the necks articulation isnt very good, the spines greatly limit what little movement you can get. At best I could tilt the head side to side but trying to move it up or down is just about fruitless.
Eyes/teeth
The light up eyes are in fact all the same orange-red color, and so far with the exception of light up light saber jedi miniatures, it seems all light up elements are the same redish color. They shine brightly enough to make me happy, and in fact the eyes have an interesting side effect as how they look a lot like the eyes of the guys in the movies, like how they are lights in a bulb, with a sort of pupil, making the eyes more realistic in my opinion. The battery in the eyes do look theoretically replaceable, but not very easily or cheaply accomplished. You can expect to pay upwards of three dollars for one of those tiny batteries, that and having to push the pins in just right, you will probably be better off asking LEGO for a replacement, which I understand they are doing. A downfall to the eye piece is that they look hard to be implemented to other tasks, as the plus rod slot is open ended on the top, in a way that you could nt get it to stay on a plus rod without something to hold it up against the rod. Lastly for this section, you will notice a layer of gritty material on your PIRAKAs teeth, this is for a glow in the dark function, if you can call it a function. You will have to hold it close to a bulb as it seems everyday indoor light isnt enough to get a glow charged, but I have heard it last for a while once you do get a glow started. The glow in the dark teeth remind me of the cat from Alice in wonderland. In a picture below (edited to give better detail since my camera makes it too dark to see…) you can see that only the teeth themselves are treated to glow, a rather nice detail so for MoCs or the combiners without the rubber face you dont wind up with the entire head glowing. That and if the entire head was glow in the dark the teeth would look greenish in daylight instead of the fitting white. I dont know if the treated surface can rub off over time though.
Tools
The tools are all quite basic, they are just a molded piece of plastic, though on the plus side they have the double sided bit where apparently you have a gun on one end and a tool on the other. We will likely need to discover more storyline on their powers and such to fully appreciate the tools. I kinda wish they were more detailed, or more functional, but I suppose the ZAMOR gun makes up for that.
MoCing
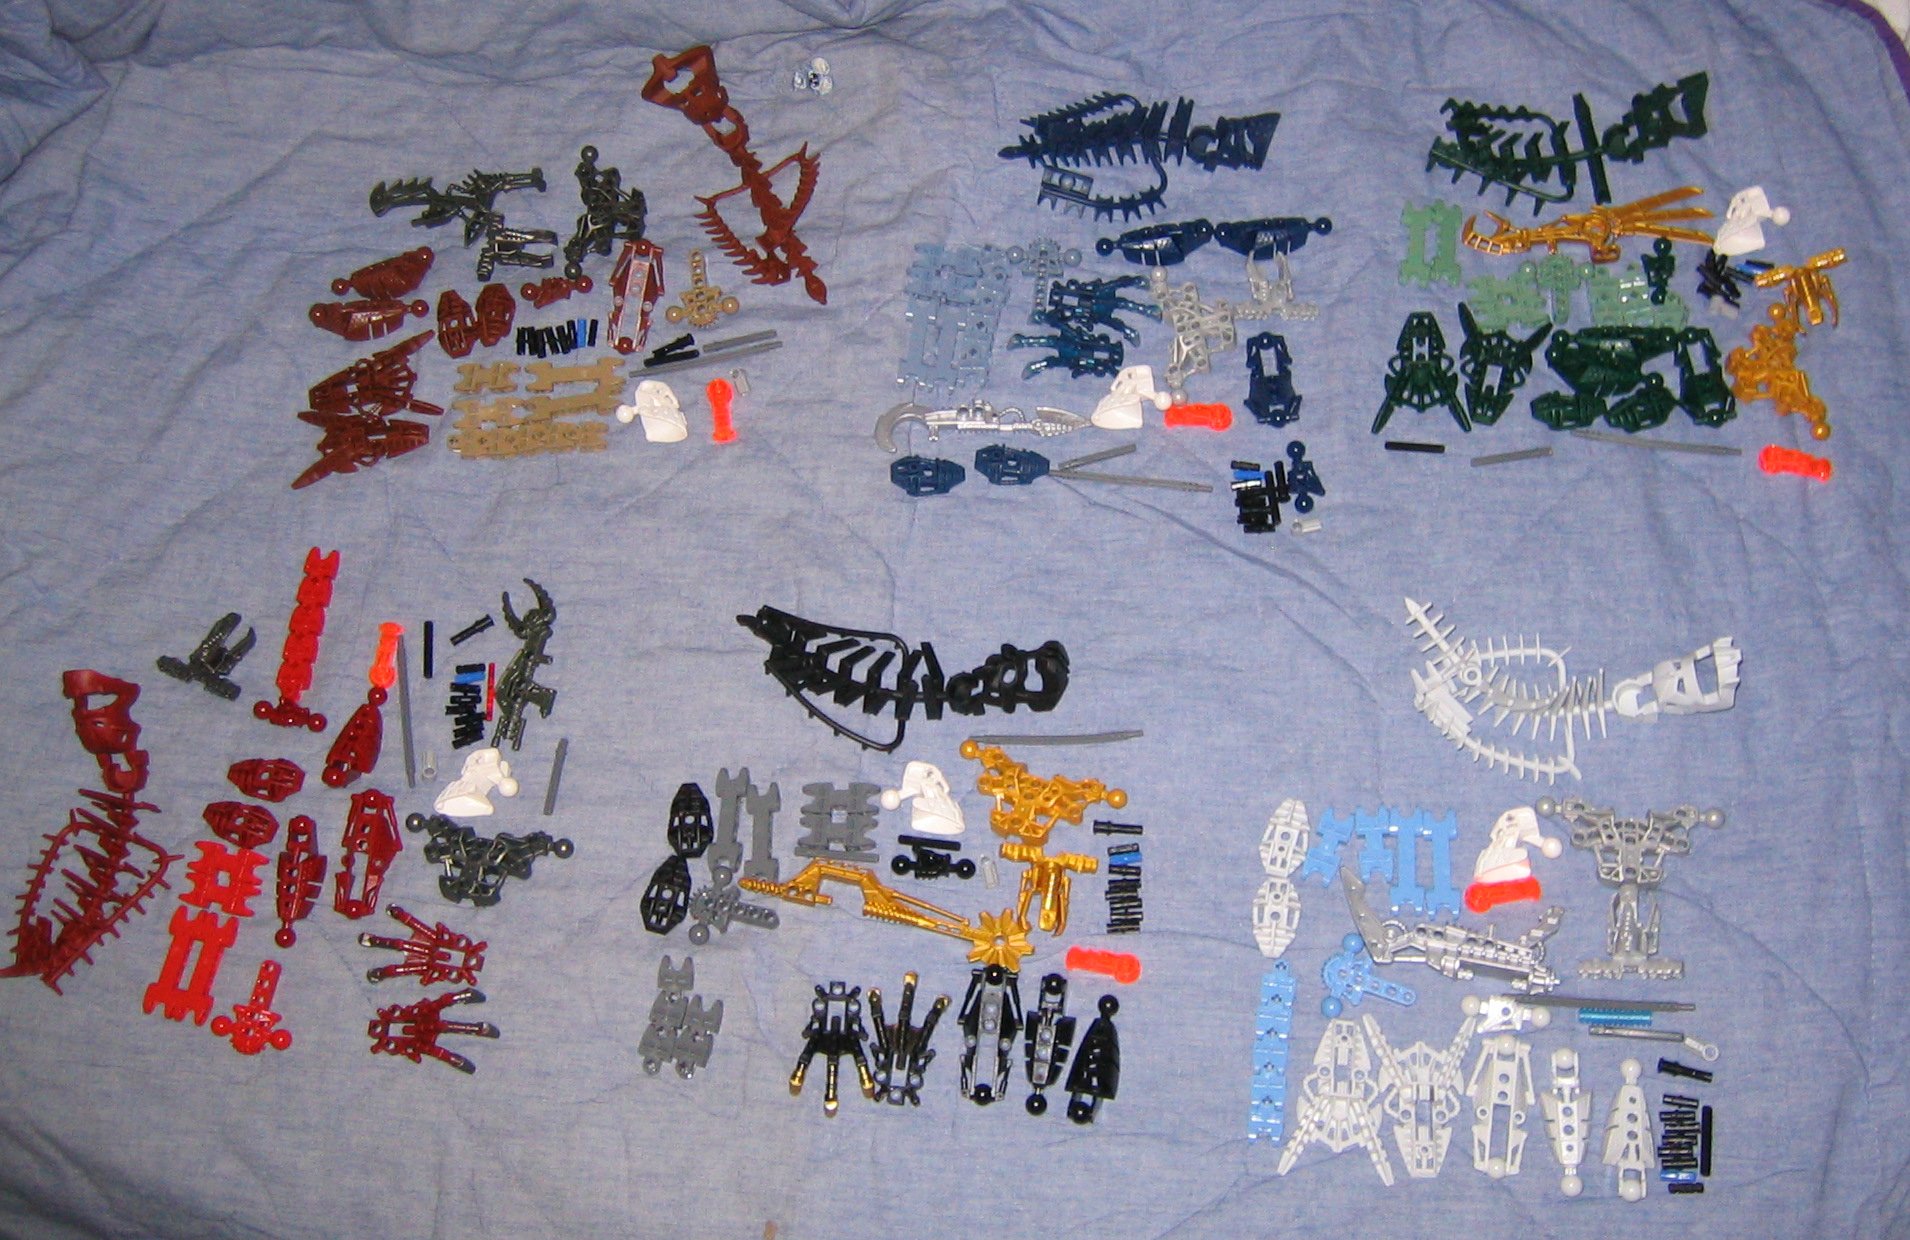
What I think is the overall best feature of the PIRAKA is the vast array of new parts and new colored parts they come with. Im sure a lot of you will appreciate the legs and feet for newer custom toa and such, or to add some more color where only grey colored double sockets had been easily available. Since the PIRAKA come with two colored double sockets and two extra long double sockets, as well as five single sockets, you can get all the parts you need to customize a TOA or VISORAK out of a single PIRAKA…Though I guess Im focusing my thoughts on TOA MoCs here, but with very few grey parts and more colors these guys will do wonders for your MoCing, though Im sure the spine will be tricky to use in MoCs at first, I can hardly wait to see what people will come up with. Cant say Im helping you out much with this section, but I know you will have some fun MoCing with these guys. You will likely have some translation problems though, as the colors are indeed darker on further inspection, sorta like the move from nuva colors to Metru colors making old MoC parts not properly match unless used in a spread out colorcheme. This change looks to be for the better, anyone disliking TOA ONEWAs shade of brown will know what I mean. Lets not forget the light up yey elements, if you dont mind only orange eyes. I expect they will be used more for light up lasers or monsters and such if you can get past the tricky to use open topped plus rod slot.
My thoughts on the PIRAKA
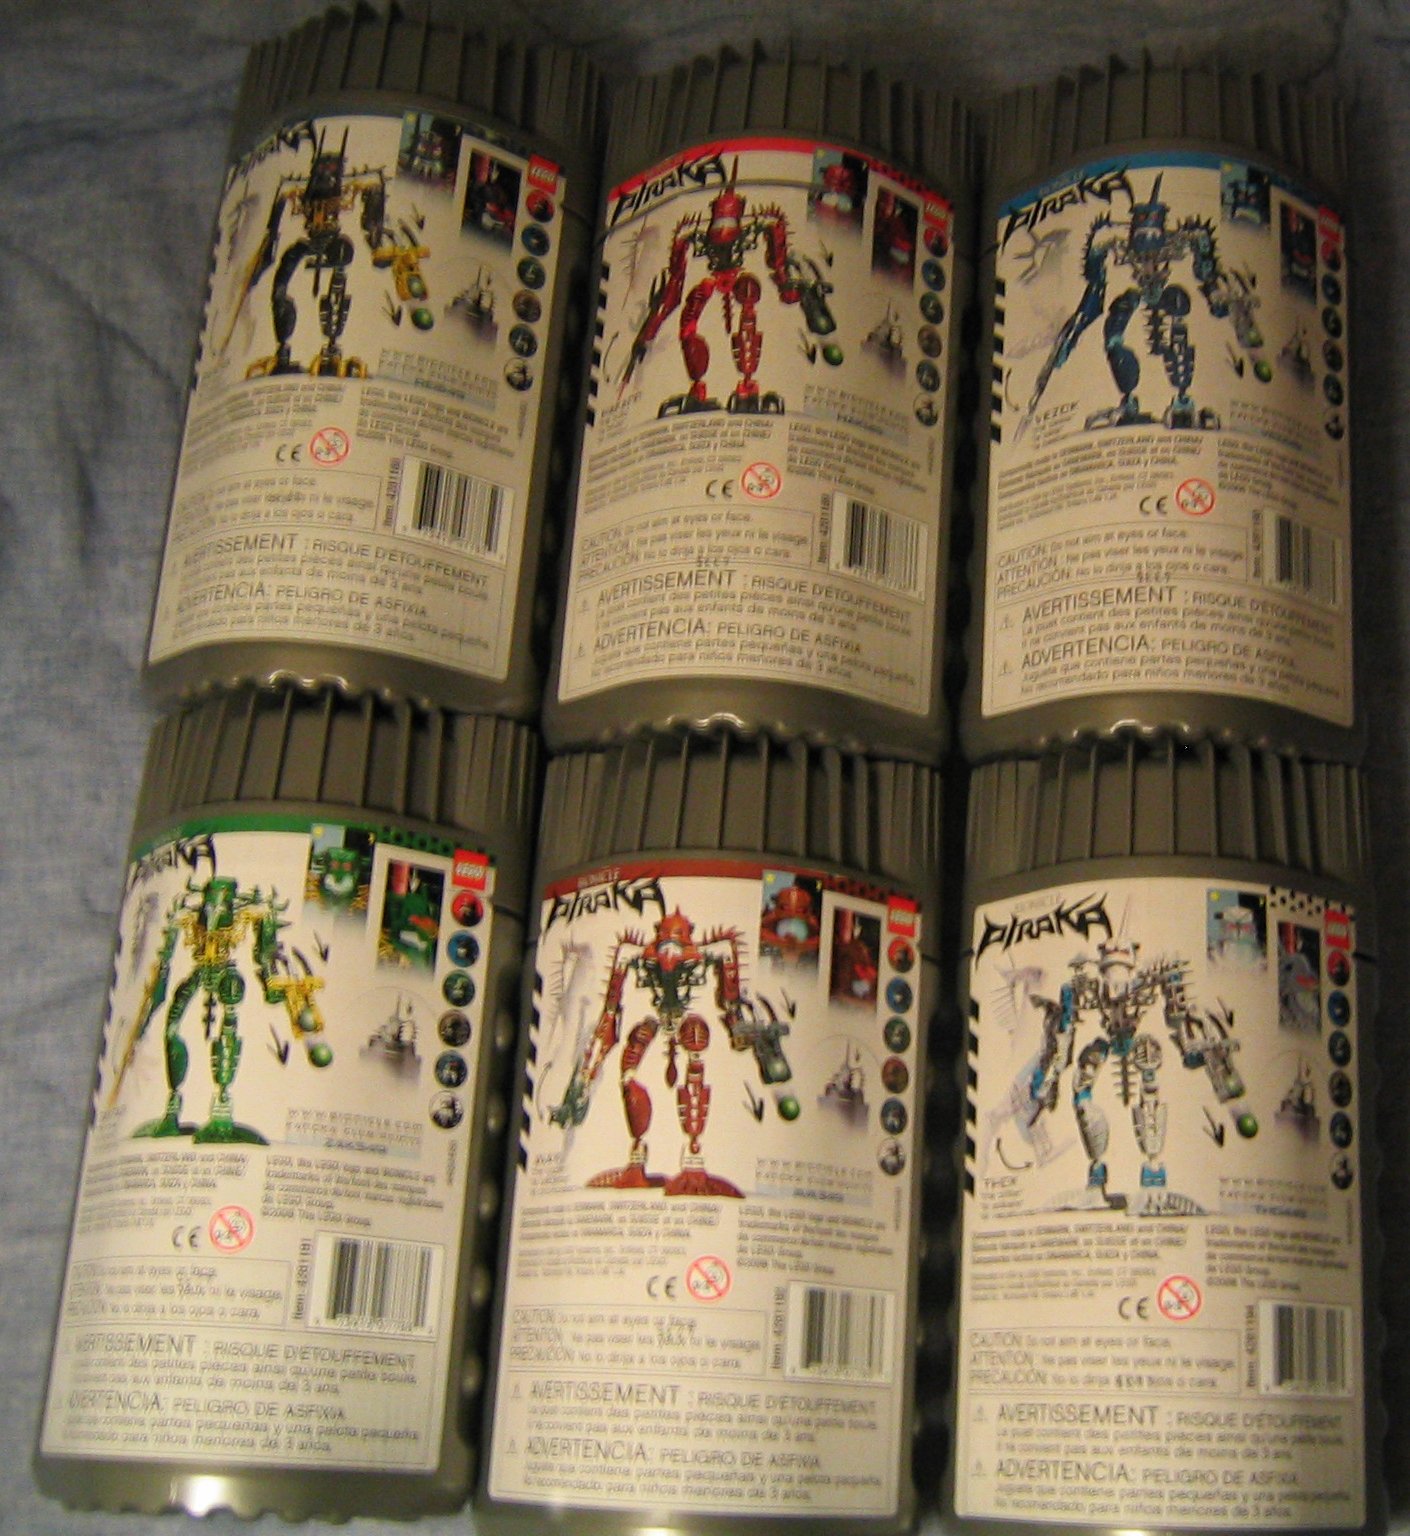
As with most BIONICLE toys, theres stuff I like about them and stuff I dislike, but overall the sets themselves have a good level of playability. They make convincing villains, and LEGO seems to be doing a good job with the bad attitude they are trying to imply with the commercials and ads. A PIRAKAs back is his bad side, being able to see the simple construction. I would have preferred another something or other to fill up the empty back and then have the spine attached. To get rid of that hallow look. I do admit they leave me disappointed, I was expecting something far better, like how when we first saw the TOA METRU they had knees and elbows and everything. The PIRAKA are very articulated yes, but what would have made the PIRAKA perfect to me would have been a better torso design, at least with hip articulation instead of being a solid piece like the HORDIKA, or perhaps even more uniqueness in the models, instead of basic clones with some different stuff. None the less they are a good addition the BIONICLE toy line. I recommend getting one at first to see if you like him, if not the parts will be great for a MoC!

0 Comments