To produce this modification, do the following:
1. Remove the red and green heads from the pelvic area.
2. Remove the #3 plus-rod and light grey plus-rod lever that the red head was mounted on, and remove the rubber band that was strapped around this, if you used it on your model.
3. Put a plus-rod lever (Jon suggested one of Nuju’s light grey, but I would use one of the abundance of black ones. You can, of course, pick your own.) on the #4 plus-rod that held the green head. It should be pointing straight down.
4. Put the light grey plus-rod lever from Step 2 on the plus-rod lever from Step 3. This one should be pointing straight forward.
5. Reattach the red head to the plus-rod lever from Step 4 and reattach the green head to the #4 plus-rod where it was previously attached.
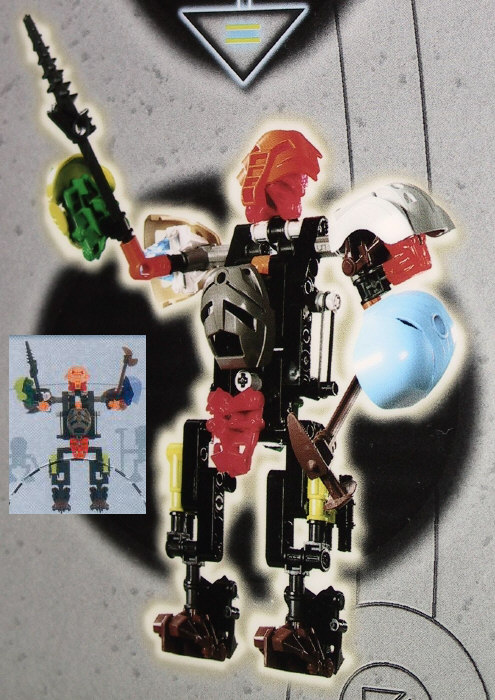
The end result is far more stable than the version I posted, but there are a few changes that lead me to suspect it’s not the construction used in the LEGO® pictures. Most telling is that the red head is now half a brick lower. Also, in the picture from the 6-Unit TURAGA sleeve, there is no evidence of the added plus-rod lever which should be just poking out a tiny bit, and the green head is more exposed when viewed from the same angle used for the sleeve picture.
0 Comments