So POHATU won’t fit in the regular EXO-TOA. Tragic, huh? Fortunately, you can rebuild it so he will fit. After all, that’s what LEGO® is all about.
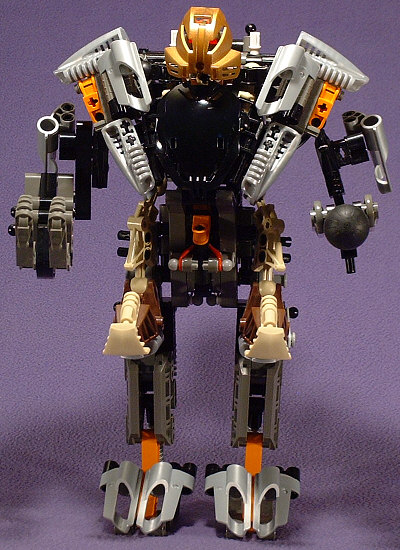
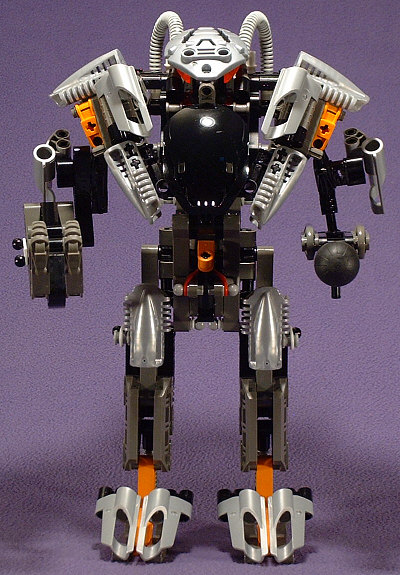
As you can see, I did just that with my EXO-TOA. POHATU doesn’t have to be put in upside-down or with half of his body poking out of the top anymore. He can also fit in this version using a completely unmodified construction.


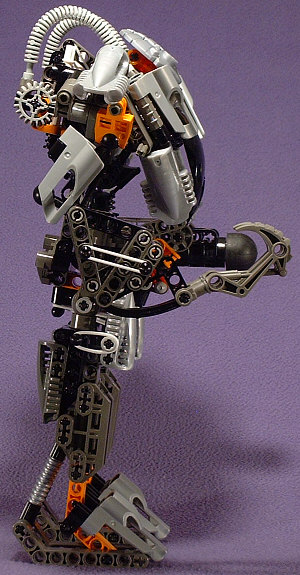
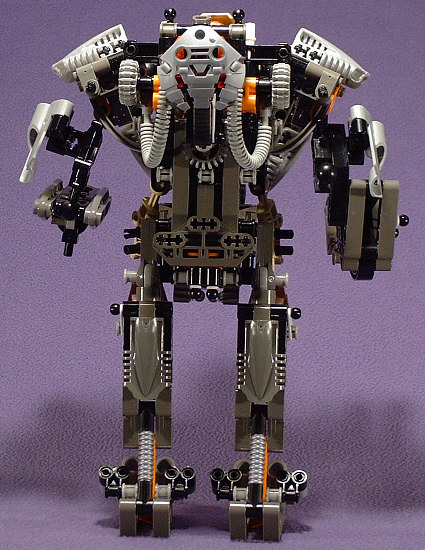
The empty EXO-POHATU suit looks nearly identical to the original EXO-TOA, which is not an accident. I wanted to keep it as true to the original as possible, so when designing this new version, I popped apart my EXO-TOA into large chunks and rebuilt it around POHATU, making small changes where necessary.
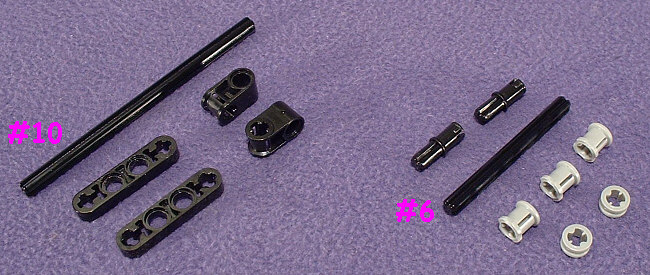
To build it, these are the pieces you’ll need that are not already part of the EXO-TOA construction. In the full-size image, the left group (shown in the thumbnail above) are five pieces that you will have to pull from other sets, while the right group are leftover pieces from the EXO-TOA set.
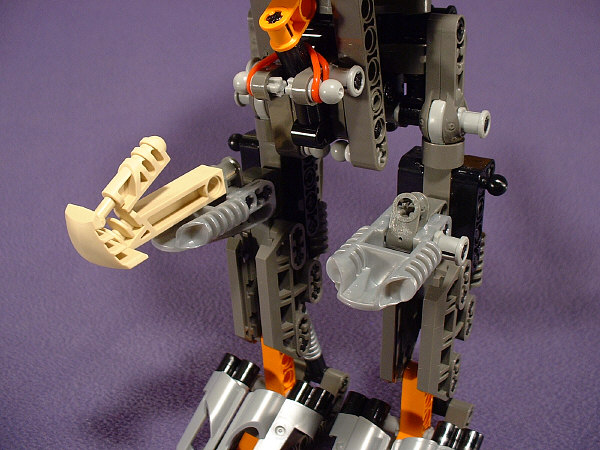
The first modification you need to make is the footpads. POHATU can’t put his feet on them without first removing his SuperToes, but he just wouldn’t look right without them. Remove the black towballs and reinstall their mountings to match the ones in the above image. As you can see, POHATU’s SuperToes plug right into them, though they are a bit difficult to install with his feet in the way. You can just flip them up 90 degrees from their original design and plug the tip of the SuperToe into the round hole if you like.
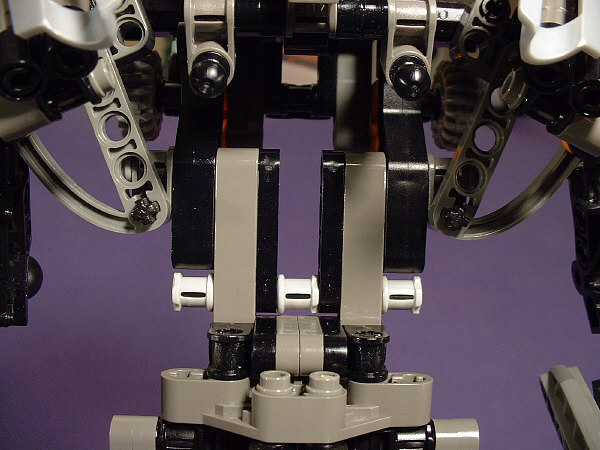
The next modification that needs to be made is the plug-block that was such a problem for POHATU fitting into the original design. If you’ve already built your EXO-TOA, the way to dissasemble stuff down to this piece is to first remove the two white plus-rods sticking out of the top (which will release the EXO-head assembly) then pull the arm assemblies off. At this point all you have is the lower backrest and the legs. Replace the plug-block with the two 1×4 flat liftarms. The #6 plus-rod and the three full bushings hold everything together at the bottom end, and the black plus/pin combos hold the bottom ends of the BOHROK skull pieces to the dark-grey liftarms, where the #3 plus-rods held the lower part of the removed plug-block.
From the back you can see that the #4 plus-rods that held the upper part of the removed plug-block have been pushed outward 1/2 stud, and the ends have been capped with the two half-bushings. POHATU’s gear-mount slips down inside this groove, and the large gear hangs out the back. This serves to make room for his little tail (has anyone else noticed that?) as well as to keep his lower torso centered.
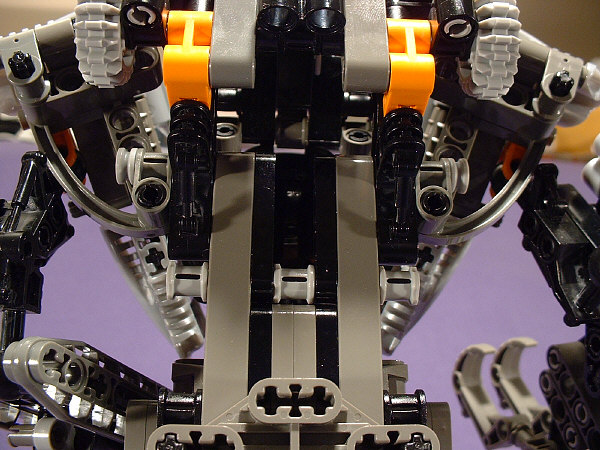
Finally, after I had all of that working, I discovered that the hoses get snagged on the tip of POHATU’s external gear assembly. To fix this, I pulled out the #8 plus-rod that holds the two large gears on the EXO-head assembly, replaced it with a #10 plus-rod, and stuck the final two pieces where the gears used to be (with the gears once again on the ends of the plus-rod) and plugged the hoses into them.
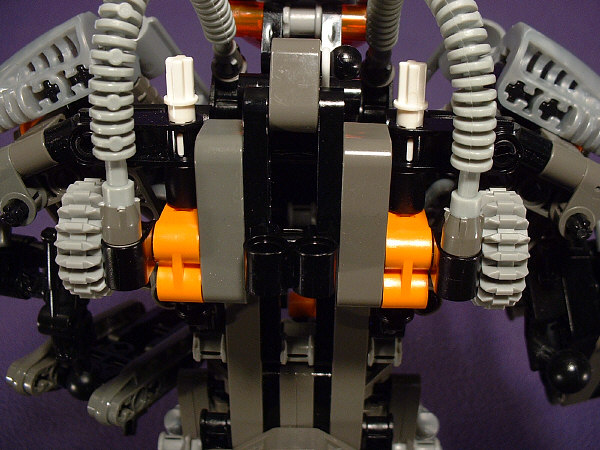
One important note when finally installing POHATU into this modified EXO-TOA is that he only seems to fit if you tuck his hands down right behind the chest-armor. If you look at the image at the top of this article, you can just see his fingers peeking out from the lower sides.
0 Comments