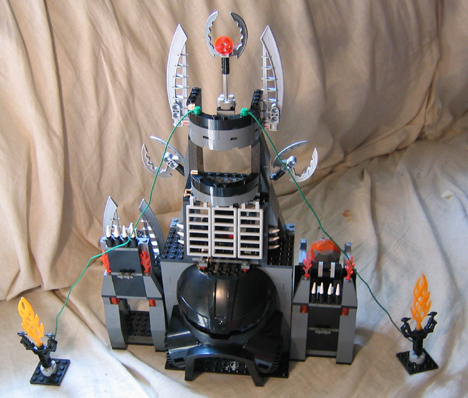
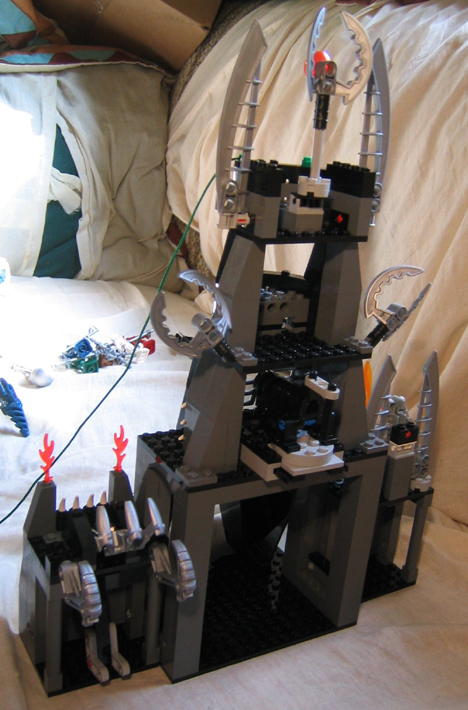
Set number 8758, TOWER OF TOA, is comprised of three main sections I like to call towers. Each tower when complete has a spot for two of the non-friction silver pegs to hold it to the other towers, and this is great as you can easily separate them for storage or to play with them on their own instead of the larger full-built set. This also makes it easily combined with the BATTLE OF METRU NUI set, which itself is comprised of a total of five towers, seven counting the two that pop easily on and off of its sides. That said you can easily combine the two sets without much work.
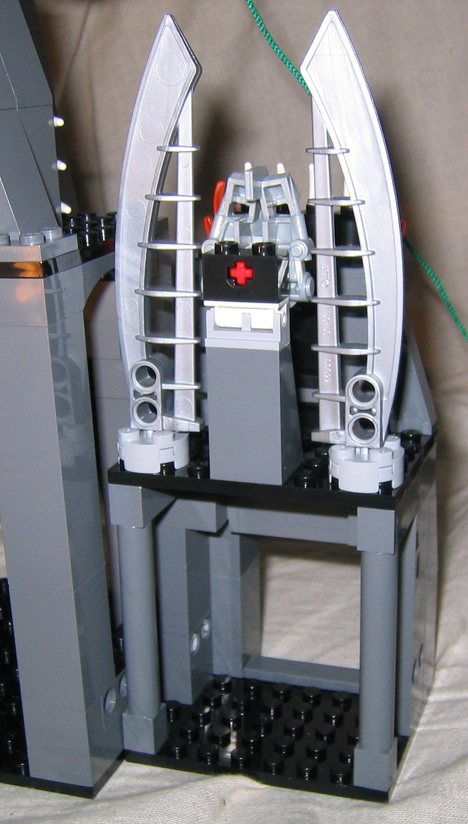
The smaller two towers are pretty much the same for the main construction, both of which have a panel that slides up as a secret entrance. Until you actually open it you can hardly tell that it opens. Unfortunately, if you slide them up too far it will slide right out of the construction, but it just as easily slides right back in. One negative side about the catapult tower is that the handle you pull on to make it launch gets in the way of the secret panel entrance, making it difficult to set a mini-figure inside from there; however, you can give it a little push to move it forward to make room. Another problem I have found with the catapult is that it is a bit difficult to use, and the rock often knocks out one or more of the flames it is intended to shoot past.
The mask tower, as I like to call it, doesnt have anything special about it, but it does have a toa head where perhaps you can display a favorite mask. The toa head can hinge backwards, but I dont know if it is intended to act as another target for the missile launching figure.
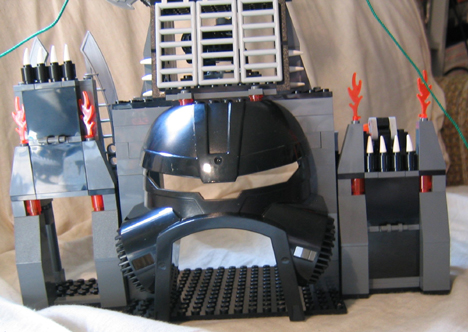
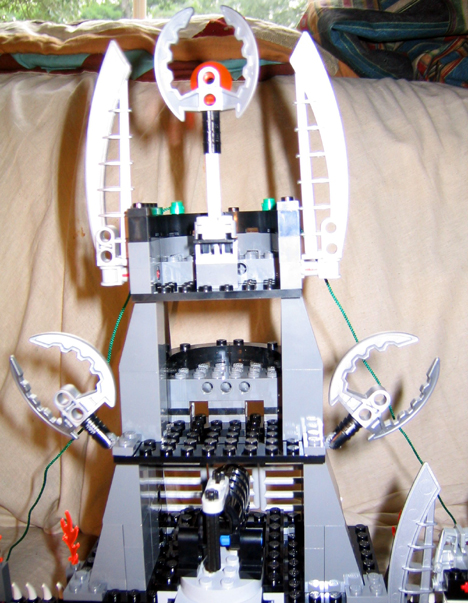
The third tower, which dwarfs the others, is the main construction for the set. At its base is a gateway that resembles the Kiril, noble mask of regeneration. Just past the gateway, looking at it from the back you have a large room for your mini-figures and whatnot. One level above that you have the missile room. The cannon in the room smoothly slides forward on a track that holds it into place, and the only way to remove the cannon is to pull it straight out from the backside. It is mounted on a turntable to aim it horizontally, while with blue friction pegs it is attached to a spot for it to tilt up and down to aim vertically. The cannons angles of fire can be somewhat limited, and you cant easily fit the missile and the cannon and close the ladder/gate over top of it, but if you remove what I think is supposed to hold it in and keep it from sliding all the way out it fits just fine. The directions show a piece being placed somewhere near the cannon, but they dont show you a good enough view of the location it is being placed. One plus about the design, since you can easily remove the turret cannon, is that you can place it elsewhere to fire upon your targets.

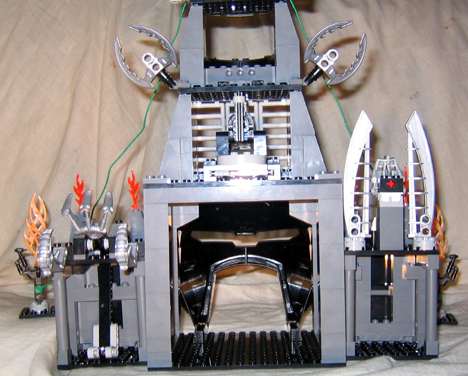
The floor right above the cannon is pretty much empty space; you could either play with it as is or maybe use that space to add a mechanism of your own design. The topmost floor has what is intended to be a target for the missile launcher, housed inside the creature wearing the gold kraahkan, and is placed on hinges so you can just flip it back up once finished. The top floor tends to get popped off too easily if you ask me, and I would have liked it if it were better reinforced.
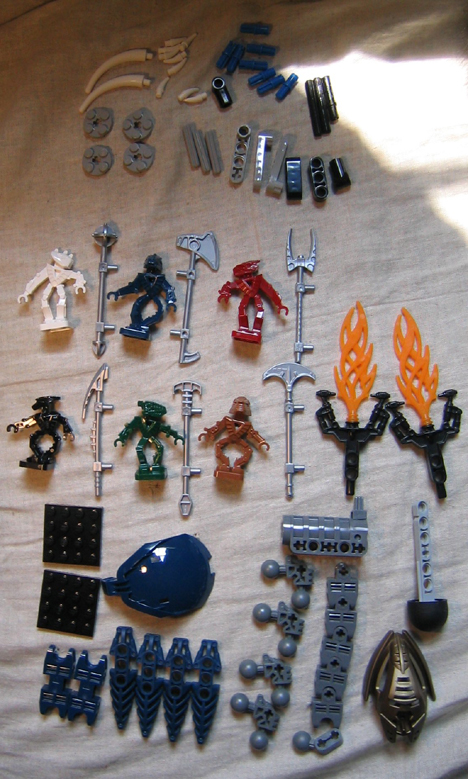
Along with the set are of course six TOA HORDIKA miniatures, the eight VISORAK miniatures, and two green vines. There are also two black/orange blazer claws which are used as torches or something. In my pictures I used them as a place to attach the other ends of my vines, although the manual gives no specific spot for them. Last of all are the brown/orange boulders. The orange in the bolder is clear, so you can partly see inside the rocks, and like the two-toned VISORAK miniatures, I dont think you will see two look exactly alike.
The TOA HORDIKA miniatures each come in their own unique pose, and upon first glance you wouldnt notice that their hands all align at the same place. Their tools look almost nothing like their full-sized counterparts, but they are interesting. They do detach from their hands, making the tools able to be used in other MoCs, and considering their size, Im guessing anyone with spare tools from having all three playsets will use the extras as part of bigger TOA tools.
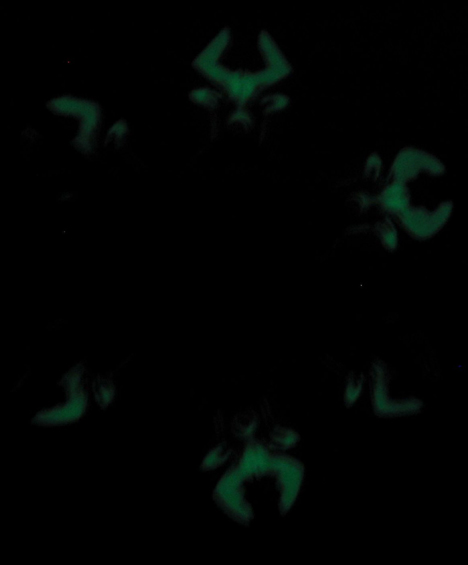
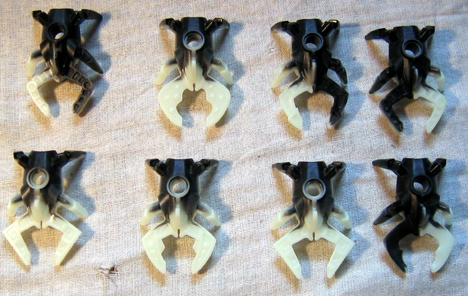
As stated in another article, the VISORAK miniatures are a harder plastic than that of the krana. Pressing down on their backs just right will make them lunge through the air an impressive distance. There are six kinds of VISORAK miniatures, each with its own pair of mandibles. I got one of each plus two extras, and in each of the playsets I got the same two extra VISORAK. For size reference they are about as big as a RHOTUKA spinner.
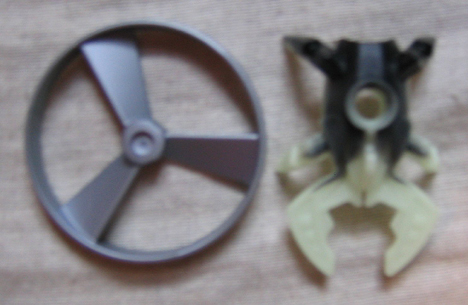
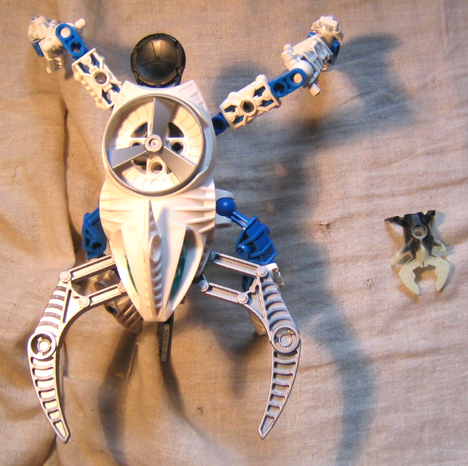
Last but not least is the enemies cannon. You might have to fumble with it (to adjust it and get the missile popped in, or set up so the missile doesnt get caught on its tusks or the mask) to get it set just right. Pressing down on the metru blue BOHRAK plate will put pressure on the trigger to make it fire, and raise the upper half up so the missle can clear past the mask and tusks. Im also trying to figure out if its a miniature of the VISORAK BATTERING RAM or possibly the GOLDEN VISORAK included in the BATTLE OF METRU NUI set, or if its an entirely different character. Its a shame TOWER OF TOA does not have a gate that can be blasted open, since I often use the cannon to blast open the gate for my BATTLE OF METRU NUI playset.
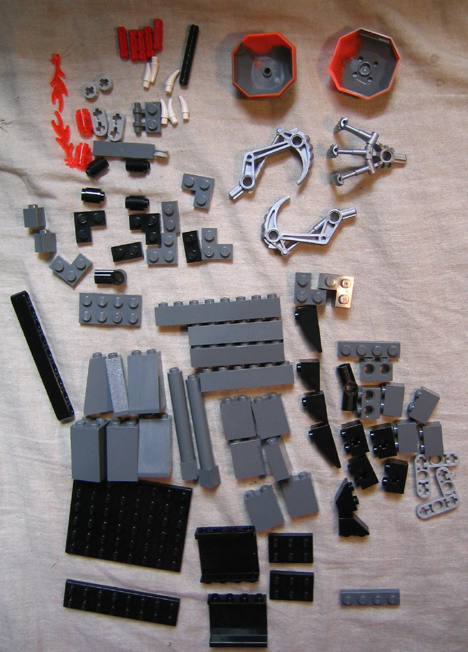
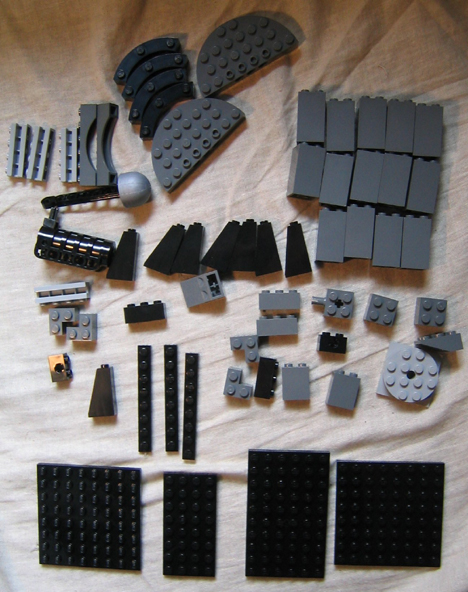
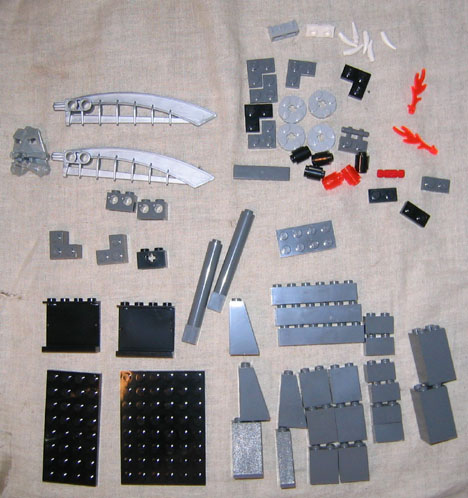
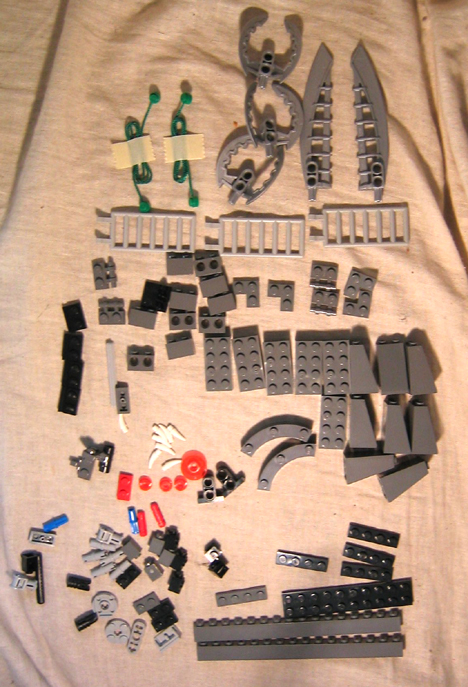
Below I have attempted to show the parts in an organized manner showing the bags which they have come from, though I do realize that the caption of the picture can be deceiving. As the parts werent all used in that section, some of the parts had to be used in other sections of the main tower.
0 Comments